Securonix IOC Exports
The web format of this guide reflects the most current release. Guides for older iterations are available in PDF format.
Export Details
ThreatQuotient provides the following details for this export:
| Current Guide Version | 1.0.0 |
| Support Tier | ThreatQ Supported |
Introduction
Securonix IOC exports enable the dissemination of prioritized IOCs from ThreatQ to Securonix, to be used for log enrichment and policy alerts.
Creating the Export
The following section will detail how to create the exports in ThreatQ.
See the Managing Exports topic for more details on ThreatQ exports.
- Select the Settings icon > Exports.
The Exports page appears with a table listing all exports in alphabetical order.
- Click Add New Export
The Connection Settings dialog box appears.
- Enter an Export Name.
- Click Next Step.
The Output Format dialog box appears.
- Provide the following information:
Field Value Type of information you would like to export? Indicators Output type custom Special Parameters indicator.type=IP Address&indicator.score>=3&indicator. deleted=N&indicator.status=ActiveYou will need to configure different exports per IOC type you’d want to export to Securonix. This means, changing the indicator.type special parameter above to match the corresponding IOC type.
Output Template # tpi_ioc,tpi_risk,tpi_src_organization,tpi_description,tpi_malware,tpi_dt_firstseen {foreach $data as $indicator} {$indicator.value|json_encode},"{if $indicator.score lte 3}Low{elseif $indicator.score lte 6}Medium{elseif $indicator.score lte 9}High{elseif $indicator.score gt 9}Very High{/if}","ThreatQ",{if $indicator.description}{$indicator.description|json_encode}{else}""{/if},{if !empty($indicator.Malware)}{$indicator.Malware[0].value}{else}""{/if},{$indicator.created_at|json_encode} {/foreach} - Click on Save Settings and enable the export via the On/Off toggle switch.
- Click on the export URL with the data.
Example Output
tpi_ioc,tpi_risk,tpi_src_organization,tpi_description,tpi_malware,tpi_dt_firstseen
"13.84.134.105","Very High","ThreatQ","","","2021-04-20 21:14:26" "13.92.233.22","Very High","ThreatQ","","","2021-04-20 21:14:26" "52.171.135.15","Very High","ThreatQ","","","2021-04-20 21:14:28" "3.134.125.175","Very High","ThreatQ","",njRAT,"2021-05-04 15:14:29" "3.14.182.203","Very High","ThreatQ","",njRAT,"2021-05-04 15:14:29" "67.209.195.198","Very High","ThreatQ","",QakBot,"2021-05-04 15:14:51" "47.146.32.175","Very High","ThreatQ","",Emotet,"2021-05-05 15:14:41" "79.134.225.7","Very High","ThreatQ","",AsyncRAT,"2021-05-06 15:14:28" "3.22.15.135","Very High","ThreatQ","",njRAT,"2021-05-06 15:14:47" "3.131.147.49","Very High","ThreatQ","",njRAT,"2021-05-06 15:14:47" ```
Configuring Imports into Securonix
The following section contains ThreatQ-specific instructions. You can view Securonix’s guides on importing Third-Party Intelligence can be found at the links below.
Configuring a new TPI Source (Third-Party Intelligence)
- Log into Securonix SNYPR.
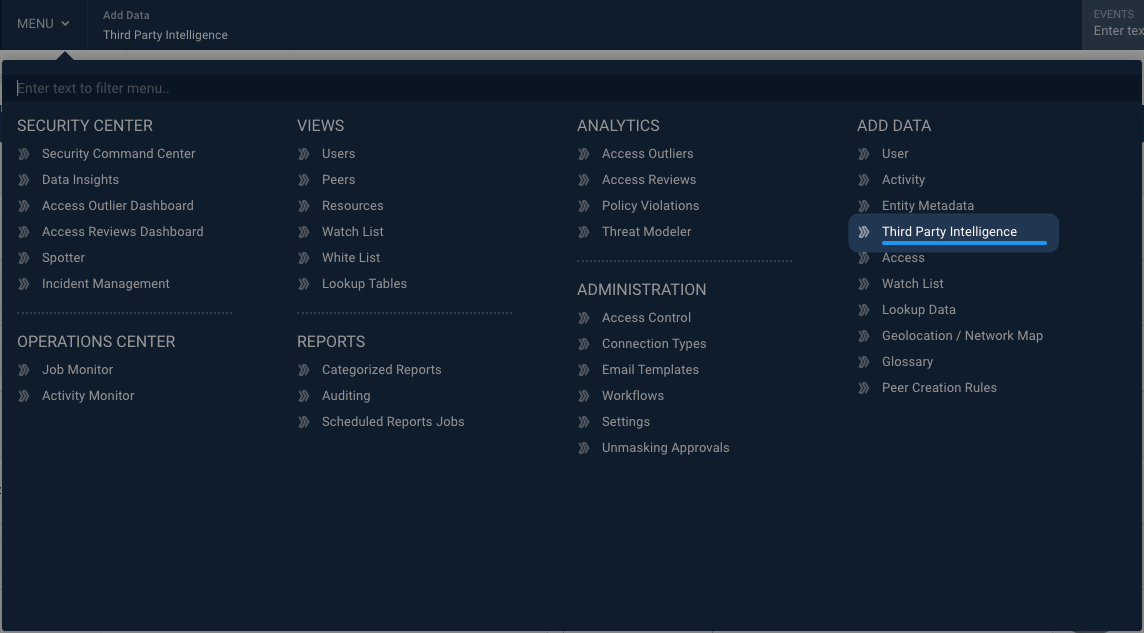
- Click on the MENU and navigate to ADD DATA -> Third Party Intelligence.

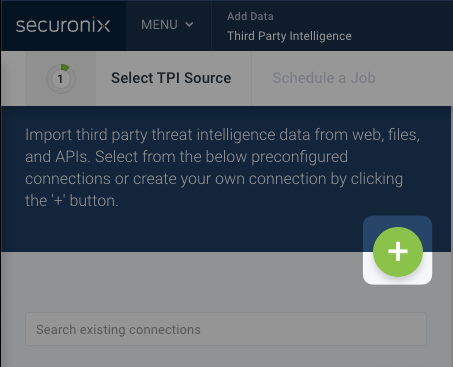
- Click on the + button to create a new TPI Source.

- Enter the following values for the connection:
Value Description Connection Name This can be any name you choose but you should be able to identify the export you are disseminating from ThreatQ.
Example: ThreatQ_IP_BlacklistThe name cannot contain any spaces.
Connection Method Web URL Copy and paste the ThreatQ Export URL. Make sure to remove the limit parameter (i.e. limit=10) from the URL.
Filename The filename can be any name you choose but you should be able to identify the export you are disseminating from ThreatQ.
Example: threatq_ip_blacklist.csvThis may be overwritten by Securonix after saving.
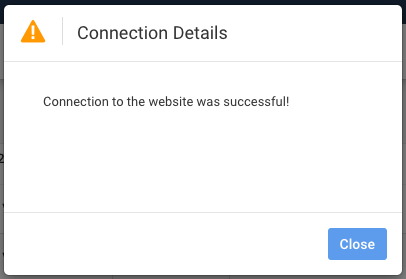
TPI Type Update this field to type of IoC you are exporting from ThreatQ. Parser Type Delimited Column Delimiter , Contains Column Identifier No Delete Old TPI Data Yes Exclude Header Yes Header Lines 1 Exclude Footer No Criticality Select the Criticality to use. Modify Criticality Select either Yes or No. - Once the configuration has been completed, click the Test Connection button in Securonix.
Example of Successful Connection:

- Once the connection is successful, click on the Get Preview button to view a preview of the Export.
Preview Example:

If the connection was unsuccessful, please make sure that there is a proper route for Securonix (cloud) to communicate with ThreatQ (on-prem or cloud-hosted).
- Click on Save & Next if you are satisfied with preview.
Attribute Mapping
The Attribute Mapping page takes the column indexes and maps them to specific fields that Securonix understands. In the example below, the tpi_ip field has been selected to Map as Key.

There are other IoCs that can be selected, instead of the tpi_ip in the example above, depending on the type of IoCs that you are exporting. Some examples of these types include (but are not limited to):
- tpi_hash
- tpi_domain
- tpi_url
- tpi_vulnerability
- tpi_risk
- tpi_src_organization
- tpi_description
- tpi_malware
- tpi_dt_firstseen
Scheduling a Job
To schedule futures jobs:
- Navigate to the Job Scheduling Information section.
- Select the radio box for the Do you want to schedule this for for future option.

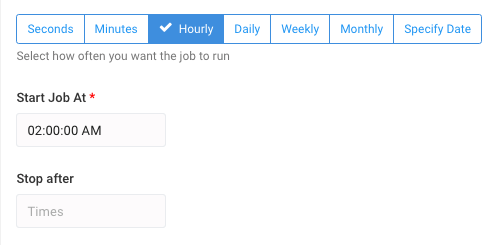
- Use the UI provided to select how often to run the job.

ThreatQuotient recommends running the job hourly.
- Click on Save.
Change Log
- Version 1.0.0
- Initial release
PDF Guides
| Document | ThreatQ Version |
|---|---|
| Securonix IOC Exports Guide v1.0.0 | N/A |