Current ThreatQ Version Filter
Setting Up LDAP Users/Groups for SAML
The following steps detail how to set up LDAP users and groups for SAML integration.
- Log into the Windows Server.
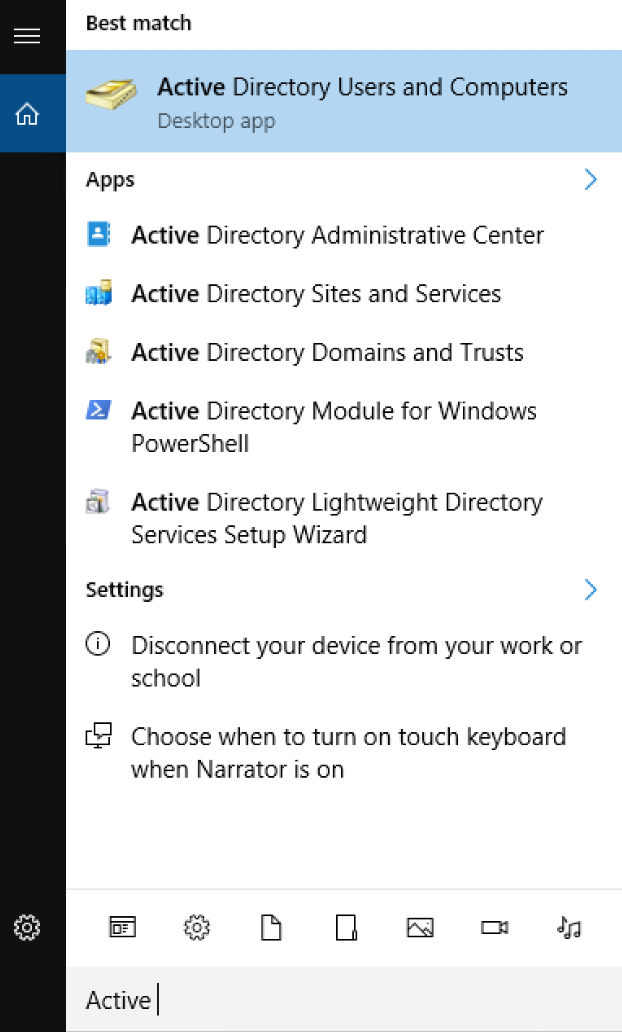
- Start the Active Directory Users and Computers application from the Start Menu.
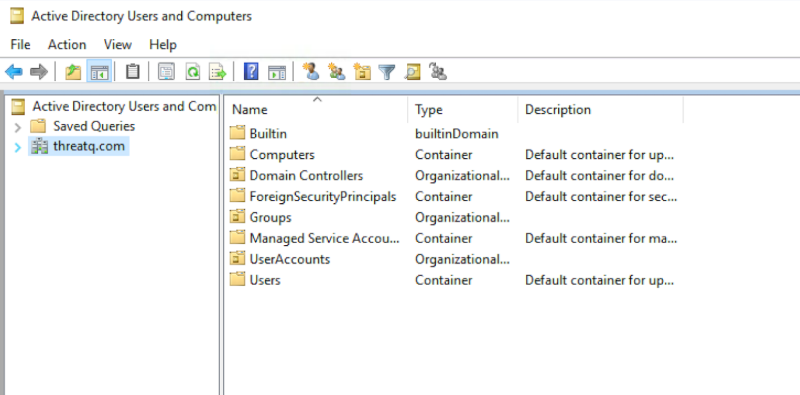
- Navigate to and select the Groups folder under your LDAP domain.
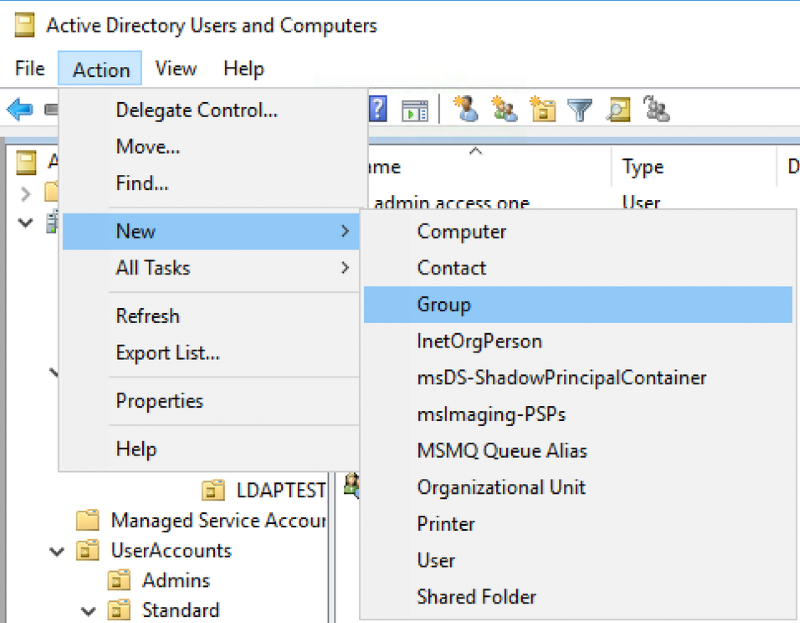
- Click on Actions > New > Group.
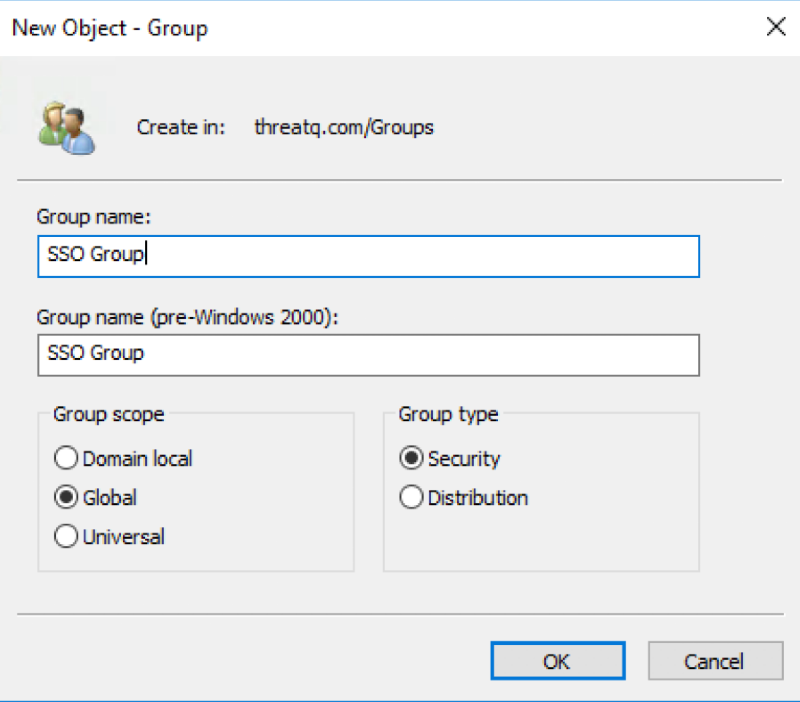
- Enter in the Group name and click on OK.
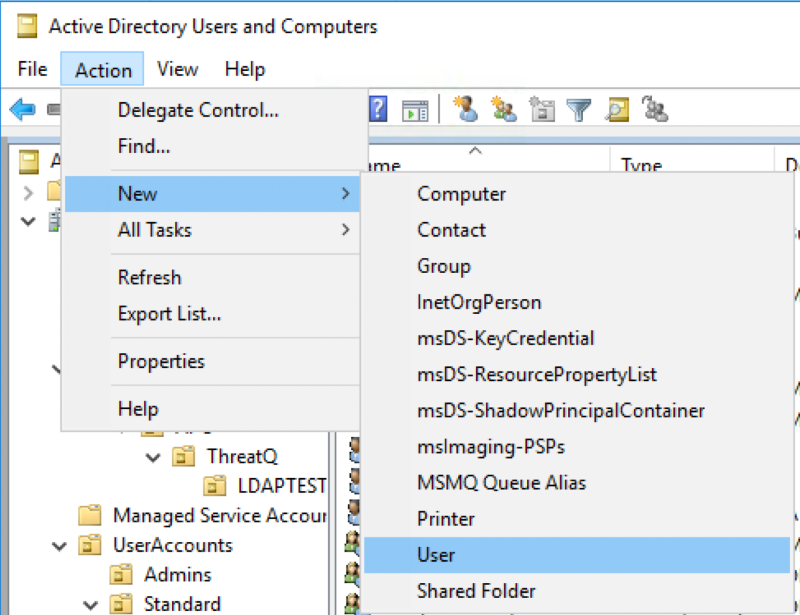
- Select the Users folder and click on Actions > New > User.
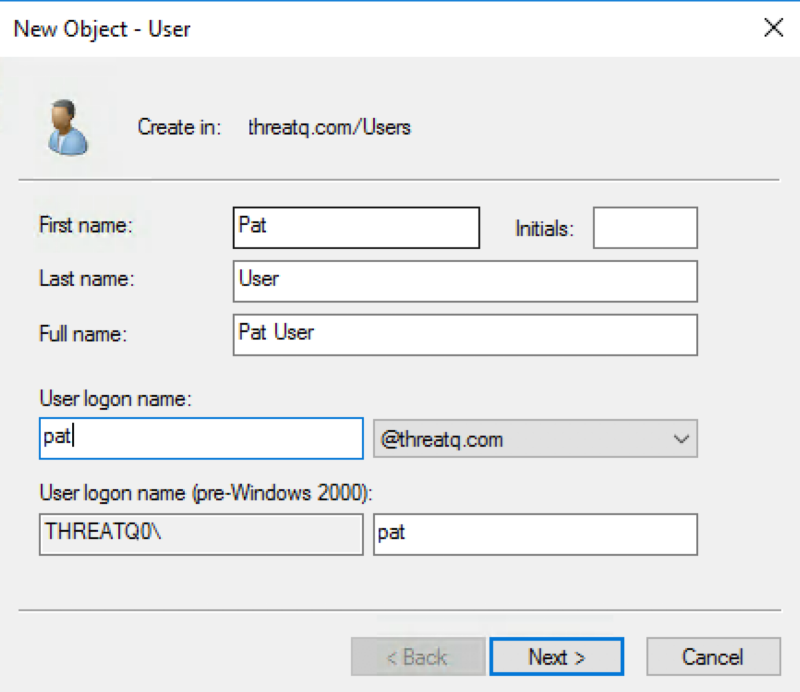
- Enter in the User Information and click on Next.
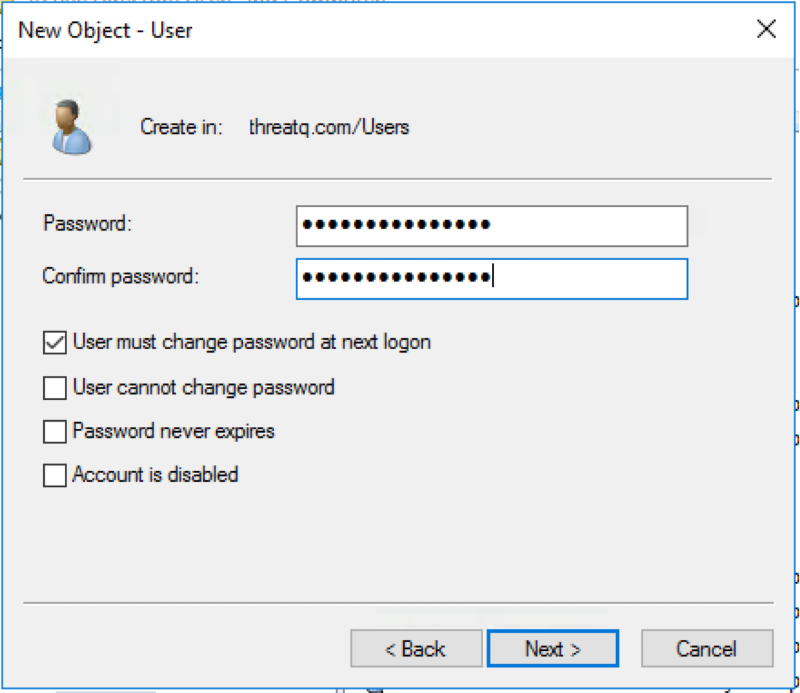
- Enter the Password and click on Next.
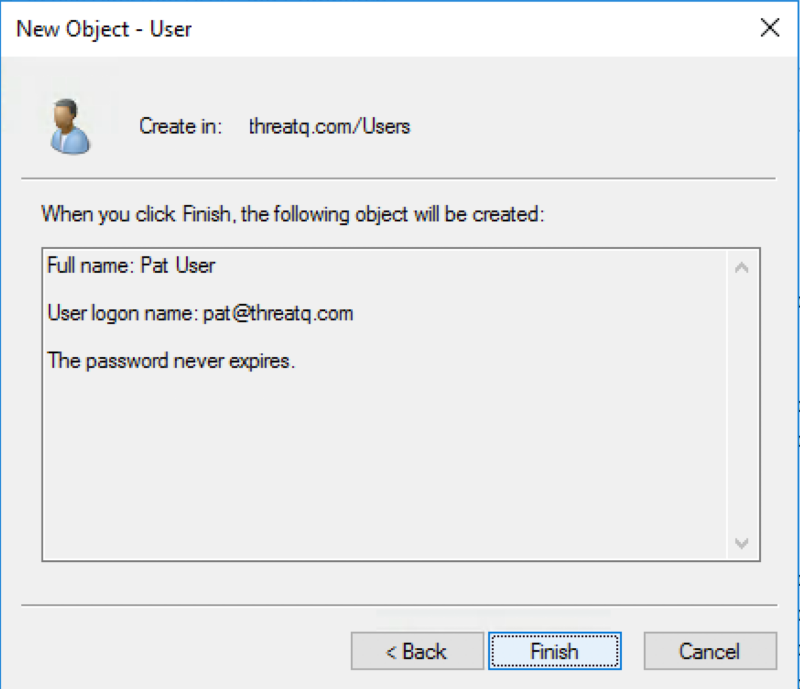
- Confirm that the details are correct an then click on Finish.
- Find and double-click on the newly created user to edit the User Properties.
- Confirm that the E-Mail has the user's correct email address.
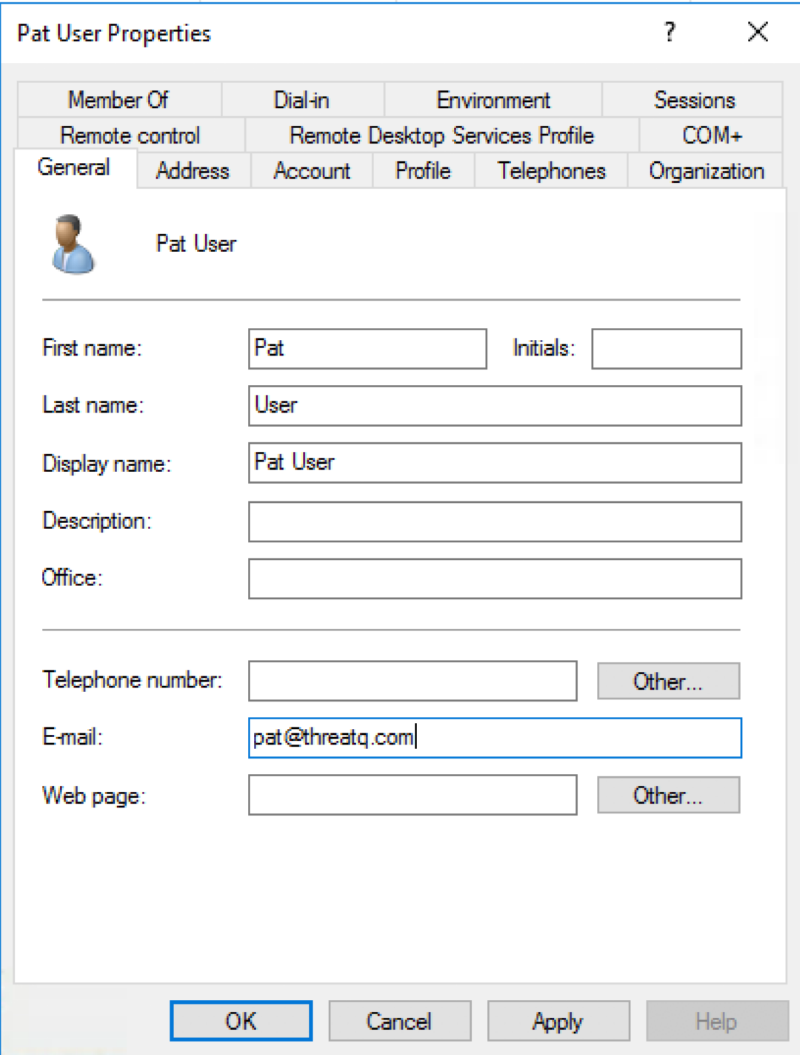
It is important that the E-mail field be filled in order for the SSO integration to work with this user.
- Navigate to the Member of tab and click on Add.
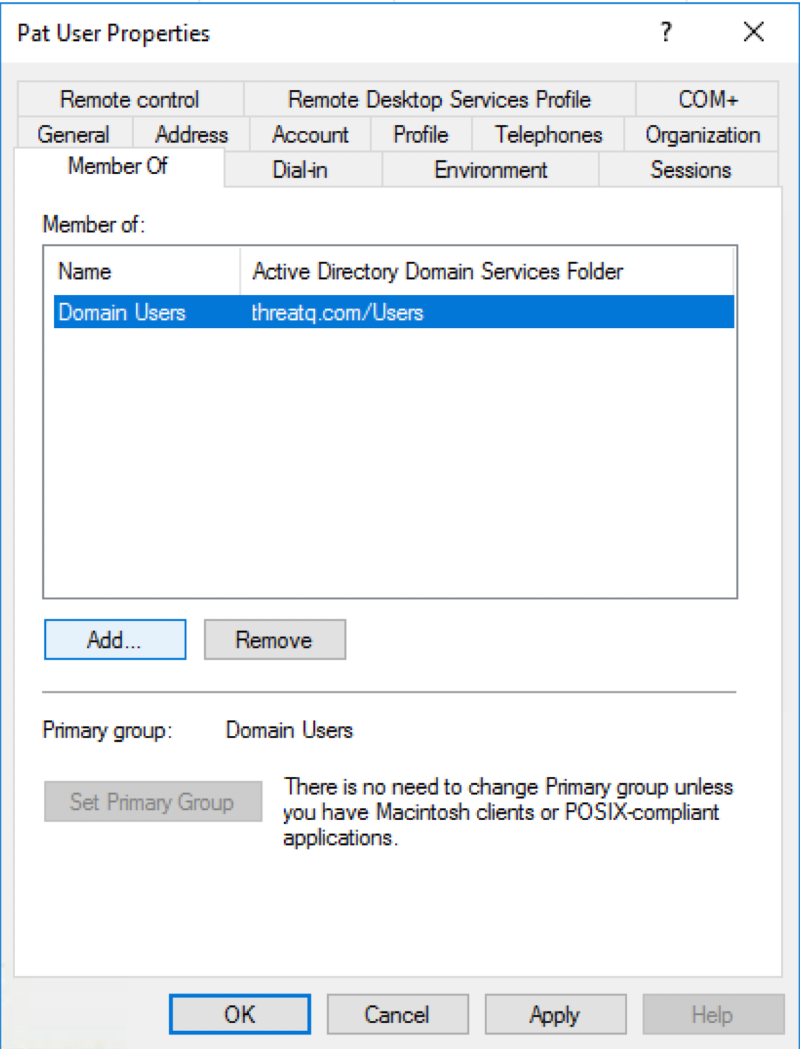
- Enter the name of the group you created earlier in steps 4-5 in the field provided.
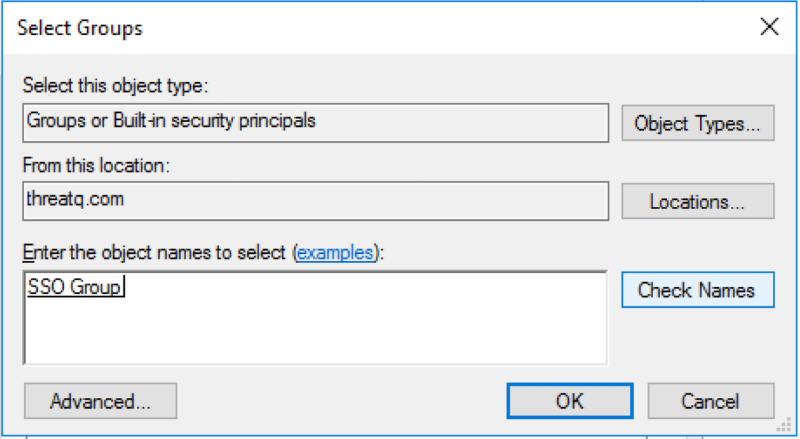
- Click on Check Names to verify the group name and then click OK.
- Verify that the User is now a member of the group.
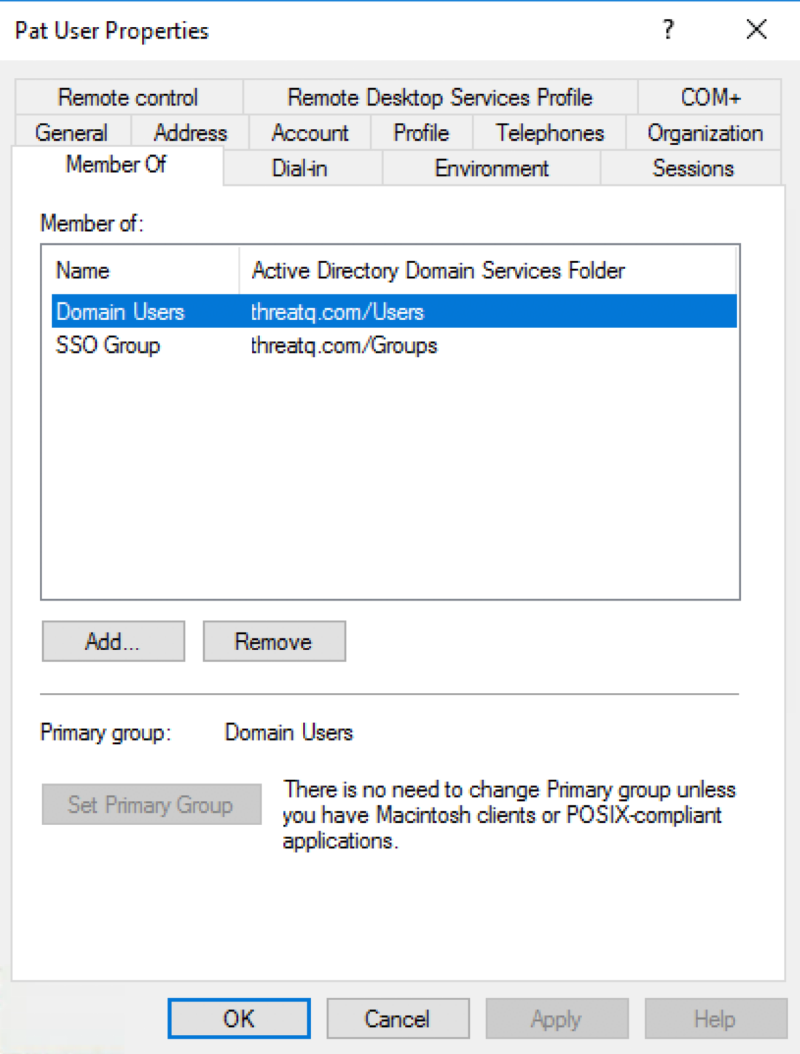
- Click OK to close the properties window.