Additional Related Object Actions
Default ThreatQ Role: Administrative, Maintenance, or Primary Contributor
Custom Role - Action Permissions: Objects & Context - Individual Object Context & Actions - Comments, Bulk Object Management - Bulk Changes
Certain system object types will offer you additional actions after relating the objects to another object.
Adding a Comment to a Related Adversary
- Locate the Adversaries pane on the object details page.
- Select Add Comment.
The Comments text field opens.

- Enter a comment.
- Click Add Comment.
Editing a Related Adversary Comment
- Locate the Related Adversaries pane on the object details page.
- Select Edit under the comment to update.
- Update the comment.
- Click Save Changes.
Deleting a Related Adversary Comment
- Locate the Related Adversaries pane on the object details page.
- Select Delete under the comment to update.
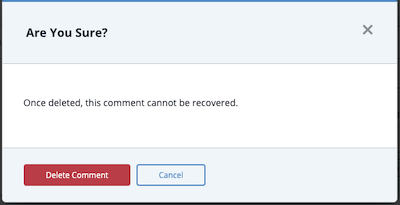
A confirmation dialog box opens.

- Select Delete Comment.
Related Adversaries - Confidence Level
You can configure a related adversary's confidence level from the Adversaries pane.
- Locate the Adversaries pane on the object details page.
- Click the dropdown arrow in the Confidence field to select the desired confidence level.

The confidence level can be set to 0, 25, 50, 75, and 100.
The displayed confidence level will be modified to reflect your selection.
Related Indicators - Bulk Actions
You can perform bulk updates to linked indicators listed in the Indicators pane of an object.
- Locate the Indicators pane on the object details page.
- Select the checkbox(es) next to the indicator(s) to update.
- Select the Bulk Update option.
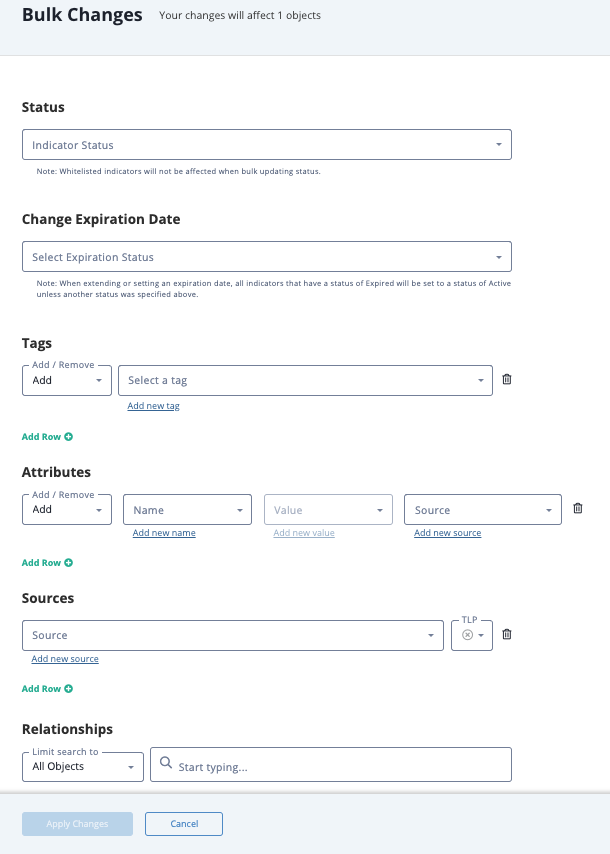
The Bulk Changes page is displayed.

- Select the desired changes and click Apply Changes.
Related Investigations - Request Access
If you do not have Owner, Editor, or Viewer permissions to an investigation related to a system object, you cannot access it unless the investigation owner assigns you one of these permission levels.
- Locate the Related Investigations pane on the object details page.
- Click the investigation name.
If you have permission to access the Investigation, this link takes you to the investigation's evidence board.
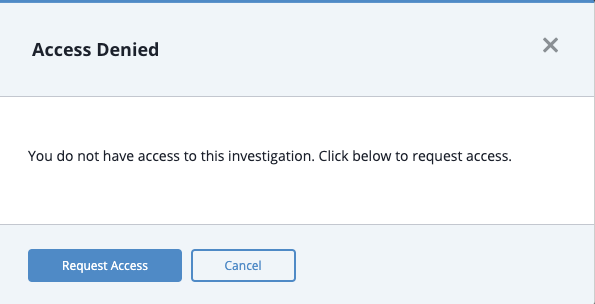
If you do not have permission to access the investigation, the Access Denied window is displayed. Go to step 3.

- From the Access Denied window, click the Request Access button.
The investigation owner receives a Notification Center alert indicating you have requested access to the investigation.