Infrastructure
Default ThreatQ Role: Administrative, Maintenance, or Primary Contributor
Custom Role - Action Permissions: Objects & Context - Objects, Individual Object Context & Actions
Note: If a user has View Only permission for Sources, system object creation modals default to the user’s login as the object source.
Infrastructure objects are STIX 2.1 objects that provide further context and/or additional analysis. For these objects, ThreatQ stores infrastructure type and kill chain phase information as attributes.
ThreatQ supports STIX exports/imports of infrastructure objects via the Threat Library, object details and preview pages, and the ThreatQ Data Exchange (TQX) TAXII server. When you import an infrastructure object that includes Kill Chain Phase information from a STIX file, this information is imported as attributes with the attribute name prefaced with the “Kill Chain:”. For example, if you import the InfraOne infrastructure item, it has an attribute of Kill Chain: mitre-attack. When you export an infrastructure object that includes Kill Chain: attributes to a STIX file, these attributes are exported as Kill Chain Phase information.
Adding Infrastructure Objects
- Go to Create > Infrastructure.
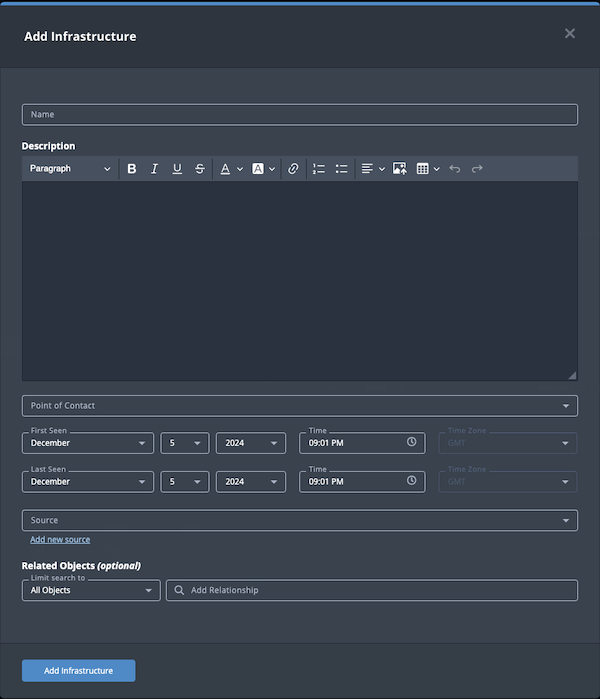
The Add Infrastructure window is displayed.

- Populate the following fields:
Field Description Name Add a descriptive name for the infrastructure object. Description Enter the infrastructure object's description. If you do not select a source during object creation, the description source defaults to ThreatQ System. Point of Contact Optional field. Click the field to select the ThreatQ display name of the point of contact for the infrastructure object. First Seen/Last Seen Select the first and last seen dates and times. Source Select a Source from the dropdown list provided. You can also click the Add a New Source option if the desired source is not listed in the drop-down list. If administrators have enabled TLP view settings, you can select a TLP label for the new source in the dropdown list provided. See the Traffic Light Protocol (TLP) topic for more information on TLP schema. - Select any Related Objects you need to link to the infrastructure object. This field is optional.
- Click Add Infrastructure.
Adding Context
See the About Object Details section and its topics for details on adding context to an object such as adding sources, attributes, and related objects.
Editing Infrastructure Objects
- Locate and click the Infrastructure object.
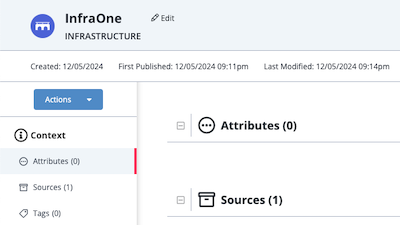
The Infrastructure Details page opens.

- Click the Edit option next to the Notes object name.
The Edit Infrastructure window is displayed. - Enter your changes.
- Click the Save Infrastructure button.
Changing the Point of Contact
Default ThreatQ Role: Administrative, Maintenance, or Primary Contributor
Custom Role - Action Permissions: Objects & Context - Objects, Individual Object Context & Actions - Point of Contact
- Locate and click the system object.
- From the object details page, click the Point of Contact field.
- Use the field's scroll or search option to locate and select a new user as the object's point of contact or to change the point of contact to Unassigned.
Deleting Infrastructure Objects
- Locate and click the Infrastructure object.
The Infrastructure Details page opens. - Click the Actions menu and select Delete Infrastructure.
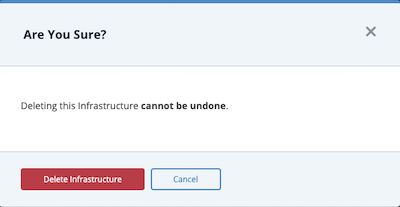
The Are You Sure window prompts you to confirm the deletion.
- Click the Delete Infrastructure button.