Whitelisted Indicators
Default ThreatQ Role: Administrative, Maintenance, or Primary Contributor
Custom Role - Action Permissions: Data Controls - Edit Whitelisting
There are some Indicators that should be considered to be non-malicious and eligible for whitelisting. As such, you would not want those indicators going out to other systems. For example, a company’s own domain name would never need to be blocked.
The Whitelisting process creates rules for specific indicators, so that when those indicators come in in the future, they are automatically whitelisted.
Wildcard Options
ThreatQ whitelist rules support the use of wildcard characters. Wildcard characters allow you to create a single rule that applies to multiple indicator values. For example, you can use a site's domain coupled with a wildcard (*) to whitelist all of its subdomains. This saves the step of creating a rule for each existing subdomain or the need to enter new rules as a site adds subdomains.
Example: Whitelisting FQDNS
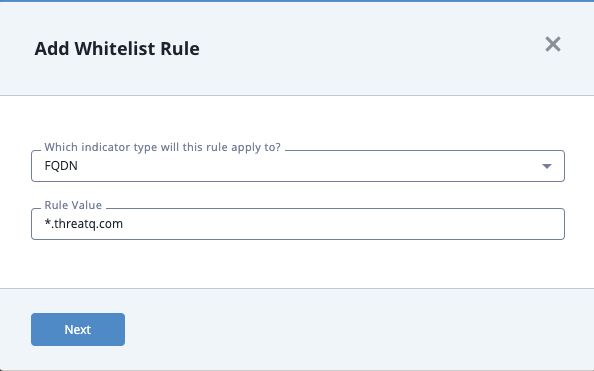
The following rule that whitelists the subdomains of www.threatq.com:
![]()
Accessing the Whitelisted Indicator Rules
- From the navigation menu, click Threat Library and select Whitelisting under the Data Controls heading.
The Data Controls page is displayed with the Whitelisted Indicators tab selected by default.

Creating a Whitelisted Rule
ThreatQ prevents you from creating duplicate whitelist rules through the user interface or an API. If you attempt to do so, the system returns an error message.
-
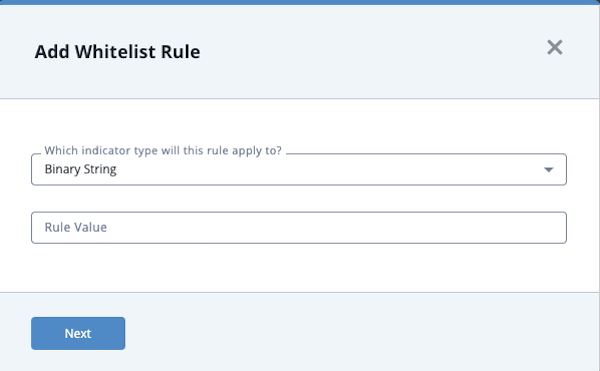
From the Whitelisted Indicators tab, click the Add New Rule button to access the Add Whitelist Rule window.
-
Select the indicator type to which the rule applies.
-
Add a Rule Value.
The Rule Value field supports the use of wildcards. See the Wildcard Options section for more information on creating whitelist rules with wildcard characters.
-
Click Next.
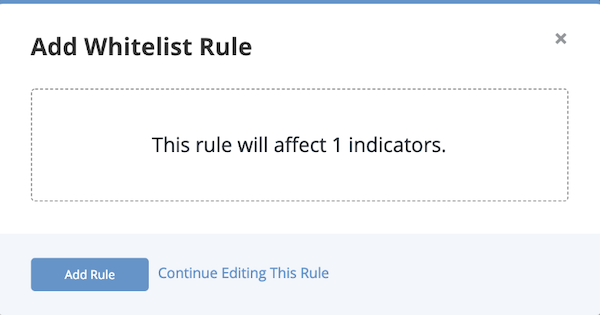
Affected indicators are listed in the dialog box.
-
Review the affected indicators.
The rule has not been applied yet, so you still have time to edit it based on whether you are satisfied with how it affects the indicators.
-
To make changes to the rule before saving it, click Continue Editing this Rule.
- If you are satisfied with the rule, click Add Rule.
The rule is applied to existing indicators, and it is entered into the Whitelisted Rules table. This rule will apply to any new indicators as they enter the system.
Editing a Whitelisted Rule
- Click the Edit option to the right of the rule you want to update.In the Whitelisted Rules table, locate the rule you wish to edit.
The Edit Whitelist Rule window is displayed.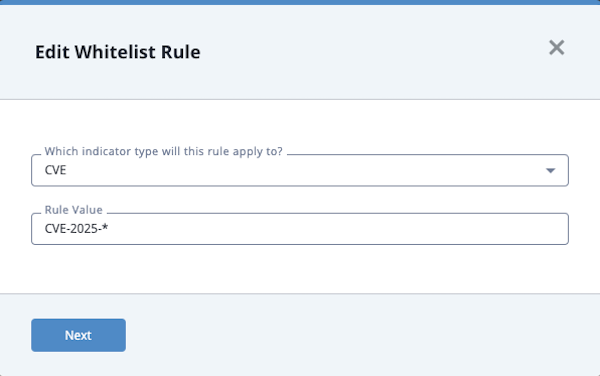
- Enter your changes and click the Next button.
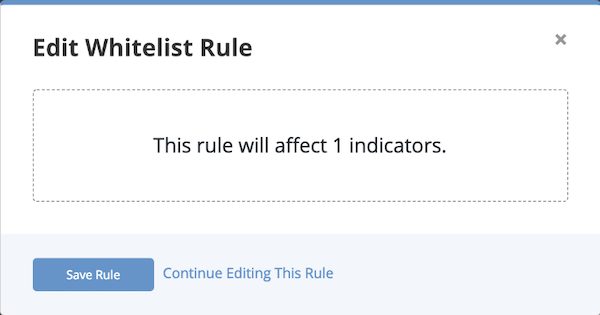
The Edit Whitelist Rule window displays the number of affected indicators.
The rule change has not been applied yet, so you still have time to edit it based on whether you are satisfied with how it affects the indicators.
-
To make changes to the rule before saving it, click Continue Editing this Rule.
- If you are satisfied with the rule, click Add Rule.
The rule is applied to existing indicators, and it is entered into the Whitelisted Rules table. This rule will apply to any new indicators as they enter the system.
Removing a Whitelisted Rule
- Locate and select the rule(s) from the Whitelisted Indicators table that you wish to remove. You can use the checkboxes located to the left of each rule to select multiple rules for deletion.
- Click the delete icon
 .
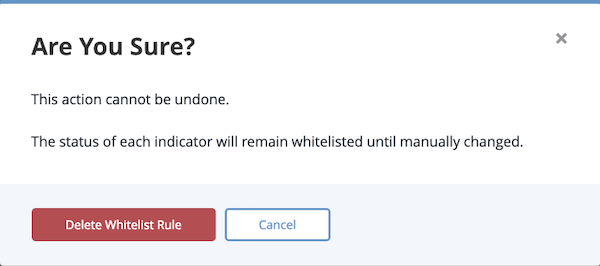
. - From the Are You Sure window, click the Delete Whitelist Rule button to confirm the deletion.
