Current ThreatQ Version Filter
Adding a New Timeline Entry
Default ThreatQ Role: Administrative, Maintenance, or Primary Contributor
Custom Role - Action Permissions: Artifact Management - Investigations
Investigation owners, as well as users with Editor permissions for the investigation, can add independent timeline entries and timelines associated with an object in an investigation.
Adding a New Timeline Entry to the Investigation
You can add new timeline entries to an investigation independent of an object.
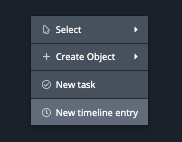
- Right-click on an empty space on the evidence board and select the New Timeline Entry option.
The Add Timeline Entry form loads.
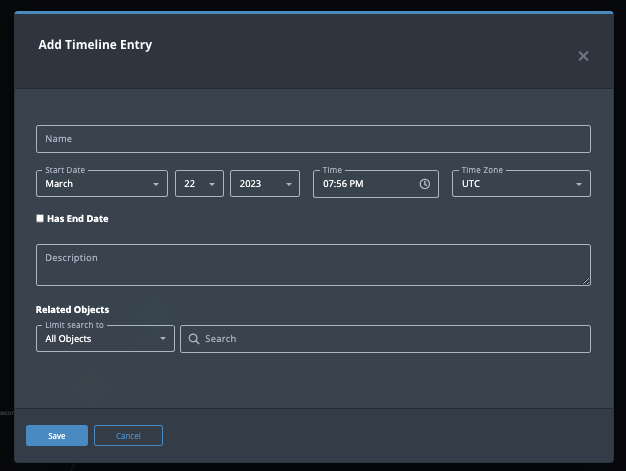
- Complete the timeline form fields and click on Save.
The new timeline entry will appear in the timeline.
Adding a New Timeline Entry to an Investigation Object
When you add an object to the evidence board, some relevant attributes are included on the timeline. In addition, you can manually add timeline entries related to the object to use as milestones in the investigation.
- On the evidence board, select and highlight the node that represents the object for which you want to enter a timeline entry.

- Right-click and select New timeline entry.
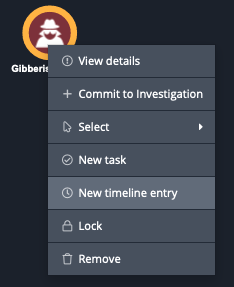
The Add Timeline Event dialog box appears.

- Add the following information about the event:
- Name
- Start Date, Time, and Time Zone
- End Date, Time, and Time Zone - Check the Has End Date checkbox to access and populate these fields.
- Description
- Related Objects
- Click Save.
The new entry is displayed on the timeline.