Getting Started
The information found in this topic will provide the initial steps to create a Connection Bundle, set up a Subscriber, and to create your first OpenDXL Data Feed.
Transcript: TEXT
Footage from ThreatQ Version 5.25.0
Confirm Requirements
Confirm that you have the following:
- Two separate ThreatQ instances running the same ThreatQ 4.49+ version
- One Publisher Instance (upgraded by license)
- One Subscriber Instance (included with standard ThreatQ License version 4.49+)
- One Publisher Instance (upgraded by license)
- Network connection between the two instances
- At least one saved Data Collection (Publisher instance)
Publisher - Creating a Connection Bundle
- Click on the settings icon and select About.
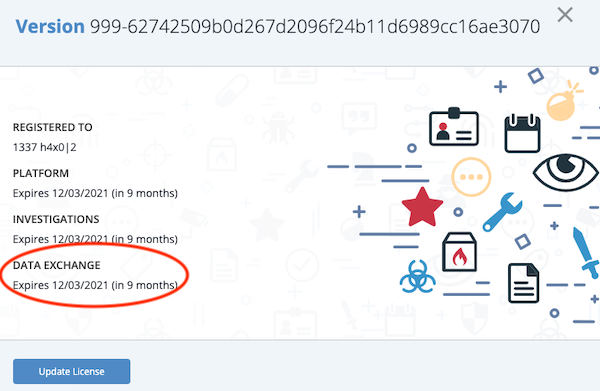
- Confirm that the Data Exchange license information is displayed. This confirms that your instance has the Publisher permissions via your license.

- Click on the Data Exchange icon and select the Set Up Server option in the OpenDXL section.
The Data Exchange splash page will load.
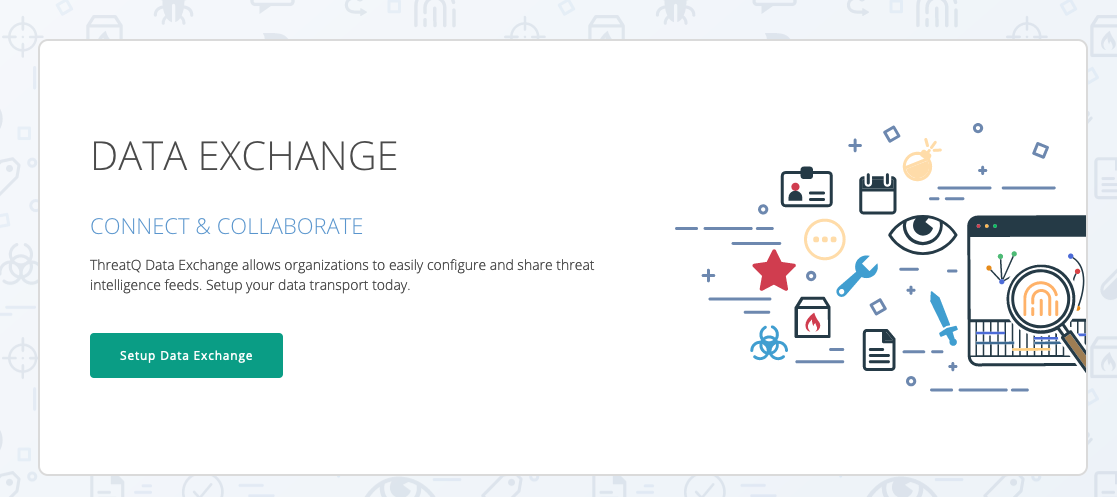
- Click on Setup Data Exchange.
The Setup Wizard will load with the first step, Setup Platform, selected.
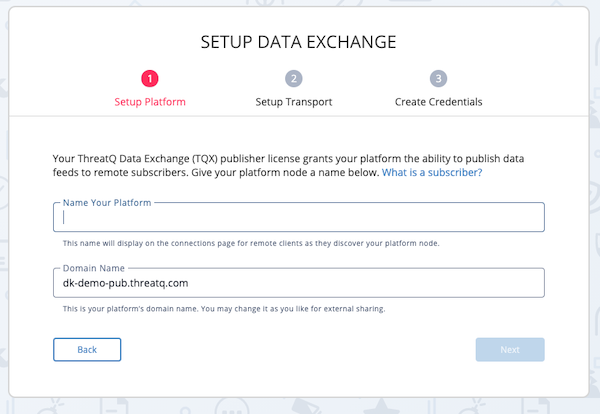
- Enter a Platform Name for your instance. This is the name that you will use to identify yourself on the connections page. Subscribers will also see this name when viewing their Topology view.
You can change this name later but it will only affect your view. Subscribers will still see the name you entered for this step.
- The Domain Name field is automatically populated based on your ThreatQ instance. Leave this field as is.
- Click on Next.
Step 2, Setup Transport, will load.
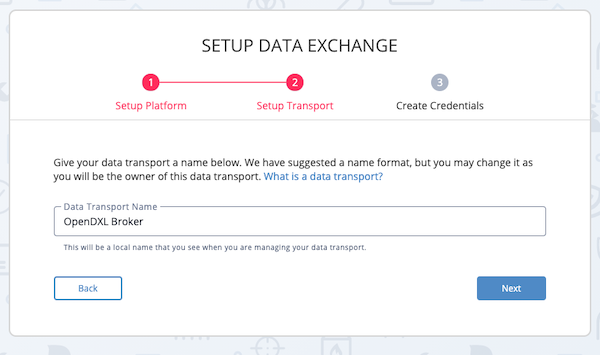
- Update the Data Transport Name if desired, otherwise use the default entry. This name will be used to identify the Broker node in your Topology view.
Subscribers are given the option to name the Data Transport during their connection setup. The name you enter in this field will not affect what Subscribers see.
- Click the Next button.
Step 3, Create Credentials, will load.
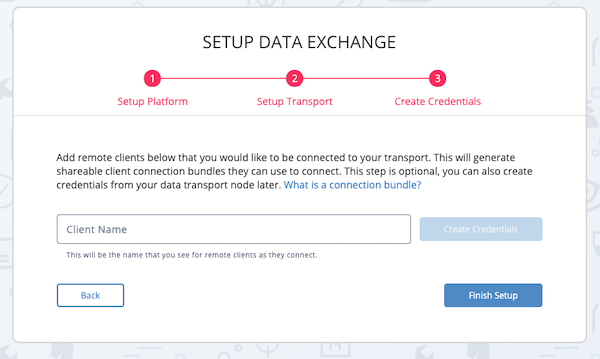
- Enter a Client Name and click on Create Credentials for each Subscriber you will connect to using the OpenDXL data transport. The names you enter here will only affect your Topology view.
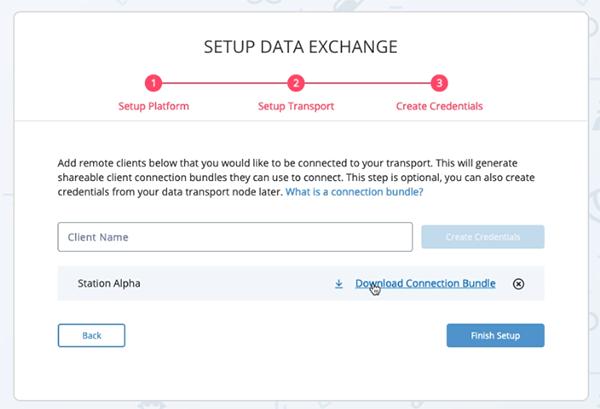
Publisher names a Subscriber: Station Alpha.
Subscriber names their platform: East Wing NSOC
The Publisher will see the Subscriber node as: Station Alpha
The Subscriber will see his/her platform as: East Wing NSOC - Repeat step 10 to create credentials for additional subscribers.
- Click the download icon to download the Connection Bundle for each client.
Subscribers will need the Connection Bundle file during their setup.
- Click the Finish Setup button.
- Send the Connect Bundle(s) you downloaded in step 12 to the Subscriber(s).
The Subscriber will now need to perform their setup to continue the setup process. If you have not done so already, send the connection bundles to the Subscriber.
Subscriber - Connecting to a Publisher
- Click on the Data Exchange icon in the top navigation bar of ThreatQ and select Connections.
The Data Exchange splash page will load.
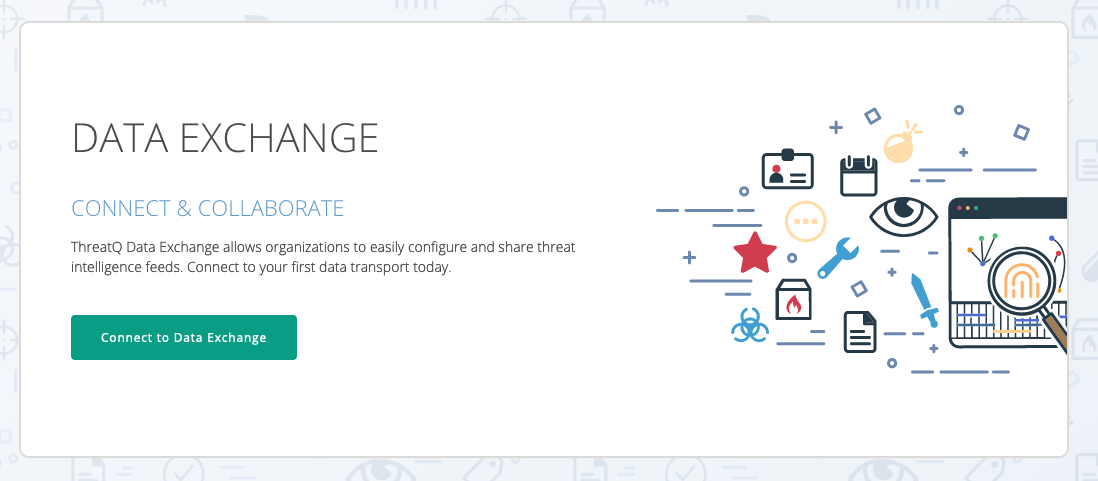
- Click on Connect to Data Exchange.
The Connect to Data Exchange dialog box will load on Step 1.
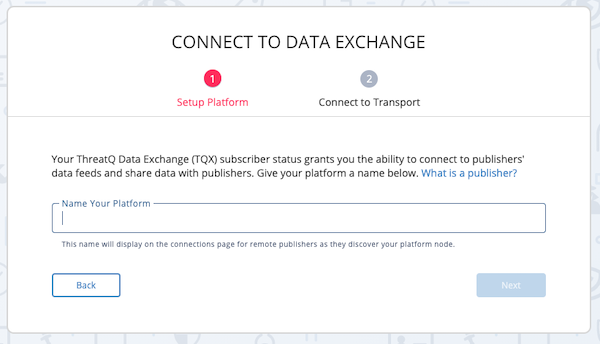
- Enter a name for your platform instance. You will use this name to identify your instance in your Topology view.
You can change this name later but it will only affect your view. Publishers may have a different a different name for your instance but will only see it in their Topology view.
- Click on Next.
Step 2, Connect to Transport, will load
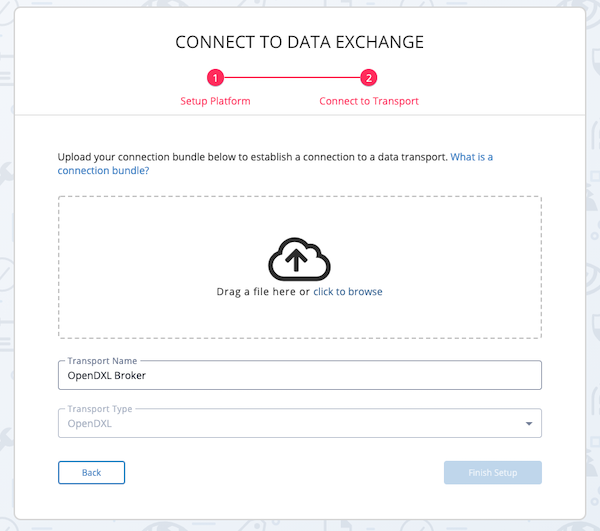
- Upload the Connection Bundle file by either:
- Dragging and dropping the file into window
- Clicking on the Click to Browse link to locate the file saved on your local drive.
The Connection Bundle file is obtained from the user that set up the Publisher ThreatQ instance.
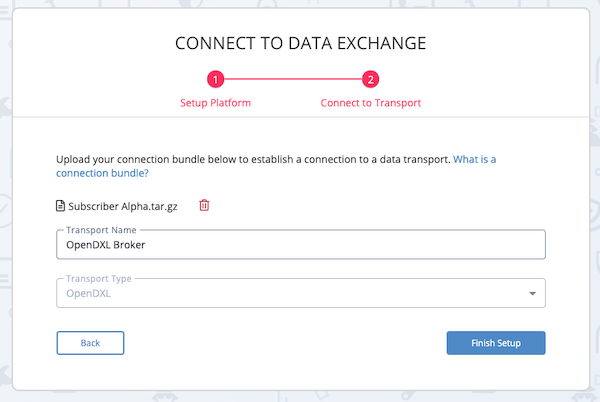
- Update the Data Transport Name if desired, otherwise use the default entry. This name will be used to identify the transport node in your Topology view.
- Leave the Transport Type dropdown field as is.
The system default transport is the only transport available.
- Click on the Finish Setup button.
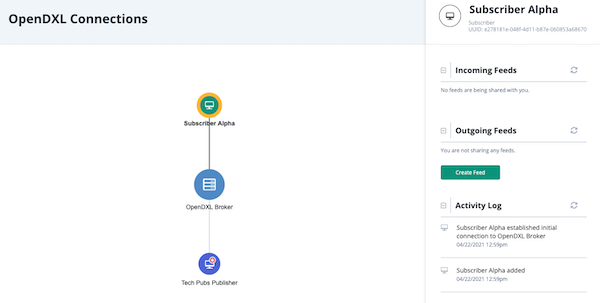
The OpenDXL Connections page will load. You will see your platform, identified as a green node, and the transport, identified as a blue node. Pause until the Subscriber and Publisher instances discover each other.
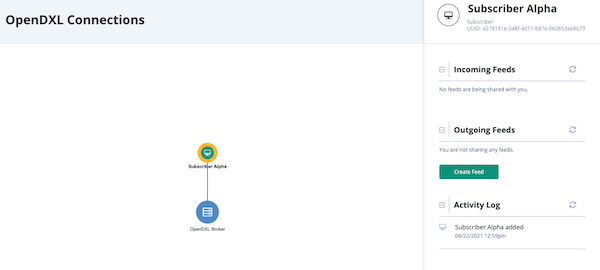
It can take up to 30 seconds for the discovery process to complete. Refresh the page in order to see the new connection. After the instances have discovered each other, the OpenDXL Connections pages will show the connections. The publisher will now see the subscriber node and the subscriber will now see the publisher node.
Publisher - Creating a Data Feed
In ThreatQ 5x, the Create and Edit Feed pages include an expanded list of Relational Data options.
- Click on the Data Exchange icon in the top navigation bar of ThreatQ and select Data Feeds.
The OpenDXL Data Feeds page will load.

- Click on Create Feed.
The Create Feed form will load.
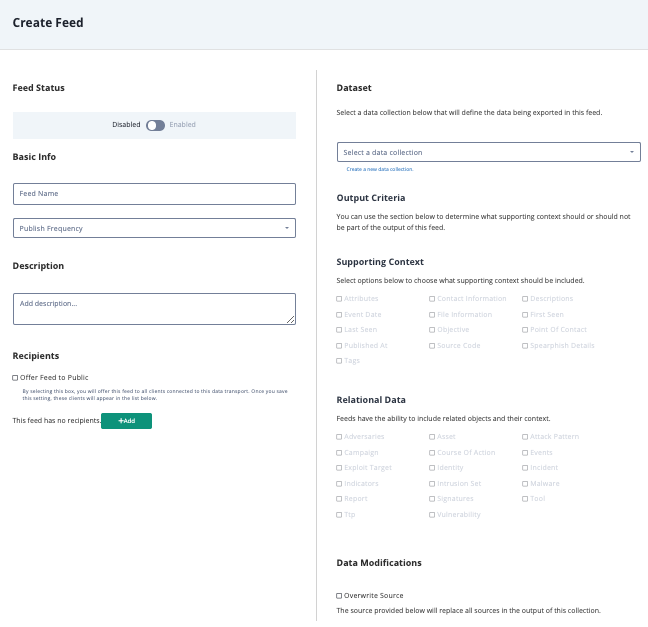
- Populate the following form sections to specify the content and recipients of your feed:
Section Description Feed Status Defaults to Disabled. Click the toggle to enable the feed. Basic Info - Feed Name - Enter the name you want to use for your feed.
- Publish Frequency - Select Daily or Hourly depending on how often you want the feed to be published to Subscribers.
Description Enter a brief description of the data feed. Recipients Offer Feed to Public - Check this box to give all clients connected to the Transport the option to subscribe to the feed. After you save your feed settings, the Recipients section displays the clients eligible to subscribe to the feed.
OR
Click the +Add button to access the Add Recipients window which lists all the connection bundles you created. Select a recipient and click Add Recipient.Subscribers do not have to be connected yet to be assigned to a Data Feed. The Subscriber will not receive the Data Feed connection profile or system objects until they connect to the transport and subscribe to the feed.
Dataset Select the Threat Library Data Collection to be exported with feed.
OR
Click the Create a New Data Collection option to open the Threat Library in a new tab and create a Data Collection.Output Criteria Select the supporting context that should be included in the feed using the checkboxes supplied. Only fields used in the data exported are selectable. Fields not associated with the data collection selected are greyed out.
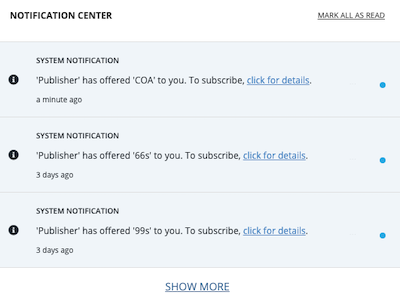
Select the relational data to be included in the transfer. Based on the object you select the following data is included in the feed:System Object Fields Indicator type_id, status_id, class, value Adversary name Event type_id, title Signature type_id, status_id, name, value Custom Objects type_id, status_id, value Data Modifications To override the default source name for the feed, check the Overwrite Source checkbox and enter the new source name. A Subscriber can view the data feed source name under object sources in their object details page. - Click the Save button. The recipients of the feed receive a system notification that a new feed is available for subscription. This notification includes a link to the OpenDXL Data Feeds page which allows the recipient to review feed details before subscribing.
