Current ThreatQ Version Filter
Logging In for the First Time (OVA & BYOD)
Regardless of your install type, your initial login to ThreatQ is an important step of the process that requires you to enter credentials and license information.
You have one chance to enter these credentials.
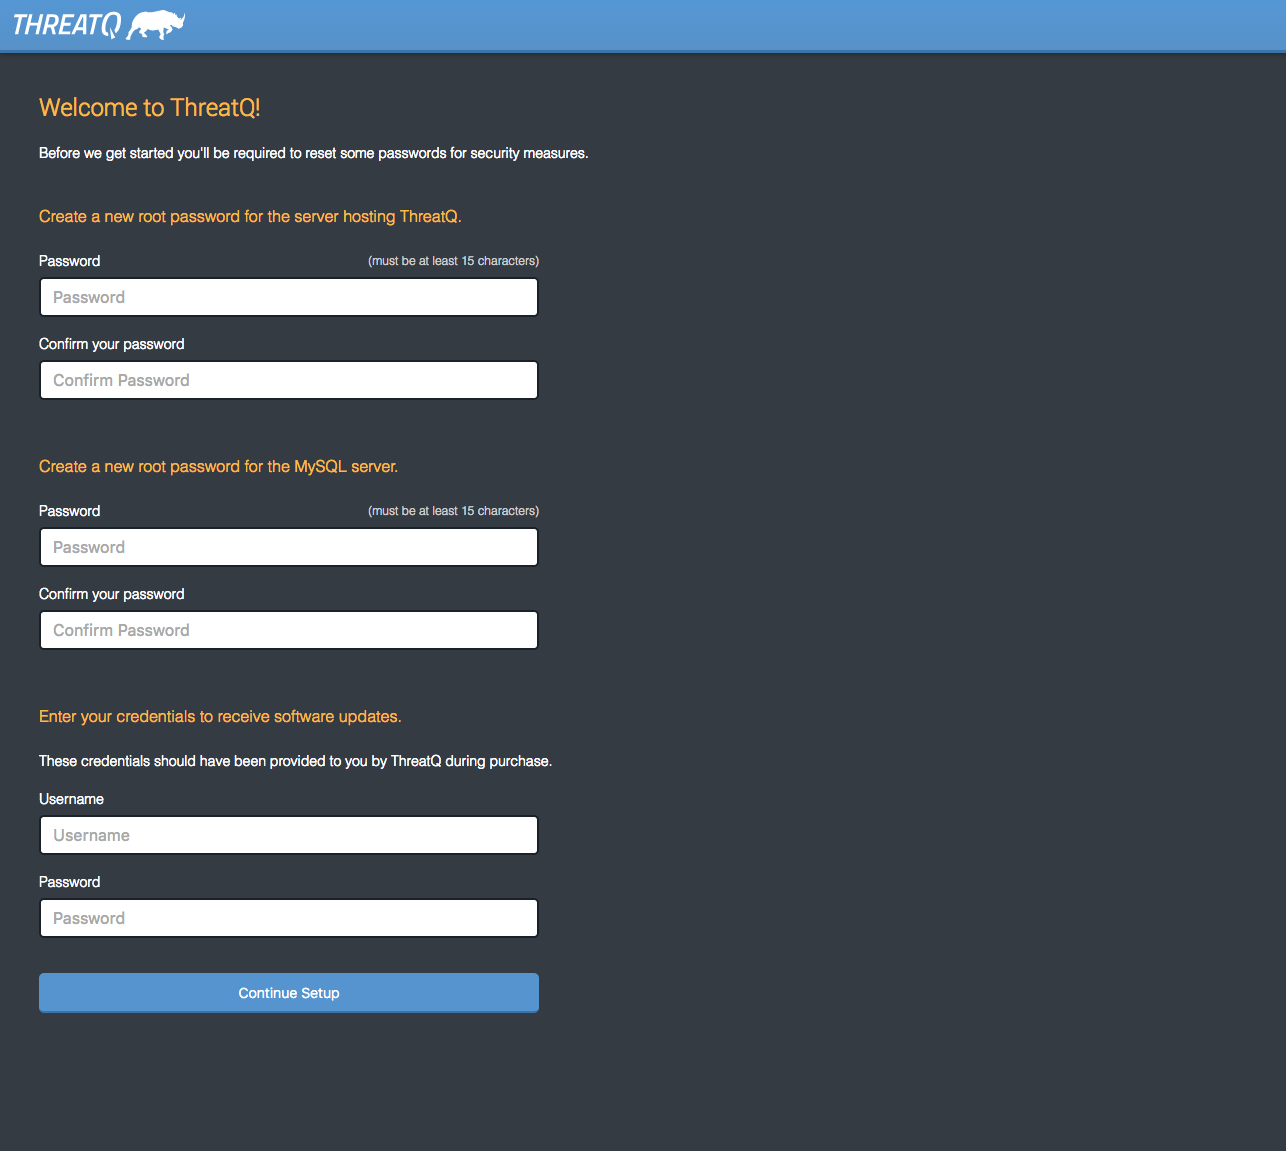
- Create new passwords and enter update credentials.
- Provide and confirm a new root server password for the server hosting ThreatQ.
- Provide and confirm a new root MySQL password.
- Enter your YUM credentials to receive updates to the application.
- Click the Continue Setup button.

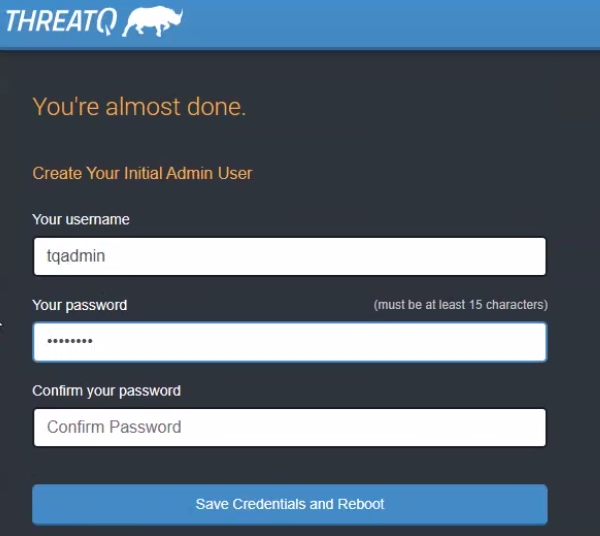
- Create the first ThreatQ admin user.
- Create the initial admin user.
- Provide and confirm a password.
- Click the Save Credentials and Reboot ThreatQ button. After you click this button, the page goes blank due to the server reboot.

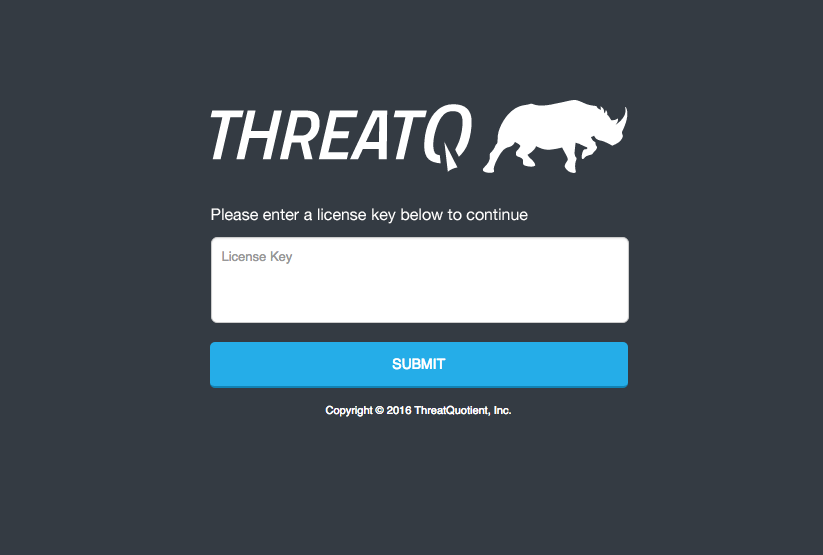
- Wait approximately ten minutes for the server to reboot and navigate to the IP address you created for ThreatQ. You are redirected to the License Key screen which prompts you to enter the license key included in your Welcome Letter.

- Enter your license key and click the Submit button.
- Log in with the credentials you created in Step 2.
- Accept the End User License Agreement (EULA).
- Opt in/out for Product Analytics and then click the Submit button.
Congratulations, you have now completed the installation of ThreatQ!
What to Do Next
Visit the Help Center for information on configuring ThreatQ imports from external feeds, or internal integrations with existing infrastructure.